What to Expect During a Professional Painting Project in South Shore, MA
A professional painting project should feel organized from the first walkthrough to the final inspection.
Hiring a professional painter should make improving your home easier—not leave you wondering what happens next. Knowing how the process typically works can help you prepare your space, understand the timeline, and feel more comfortable from the first estimate through the final walkthrough.
Although every home and project is different, most professional painting projects follow the same general steps. Here is what homeowners can expect when working with a painting contractor in South Shore, Massachusetts.
1. An Initial Consultation and Project Evaluation
The process usually begins with a conversation about the areas you want painted, the condition of the surfaces, your preferred colors and finishes, and any concerns you have about the space.
For an accurate estimate, the contractor may need to see the property in person. During the walkthrough, they may evaluate:
- The size and layout of the rooms or exterior surfaces
- Cracks, holes, peeling paint, stains, or damaged areas
- Ceilings, trim, doors, cabinets, and other details included in the project
- Surface materials and whether they require a specific primer or coating
- Access challenges, such as high ceilings, stairwells, or upper-story exterior areas
- Furniture, landscaping, or other items that need protection
This is also a good time to discuss your priorities. Some homeowners want to refresh one or two rooms, while others need a complete interior repaint, exterior update, or apartment turnover completed within a particular timeframe.
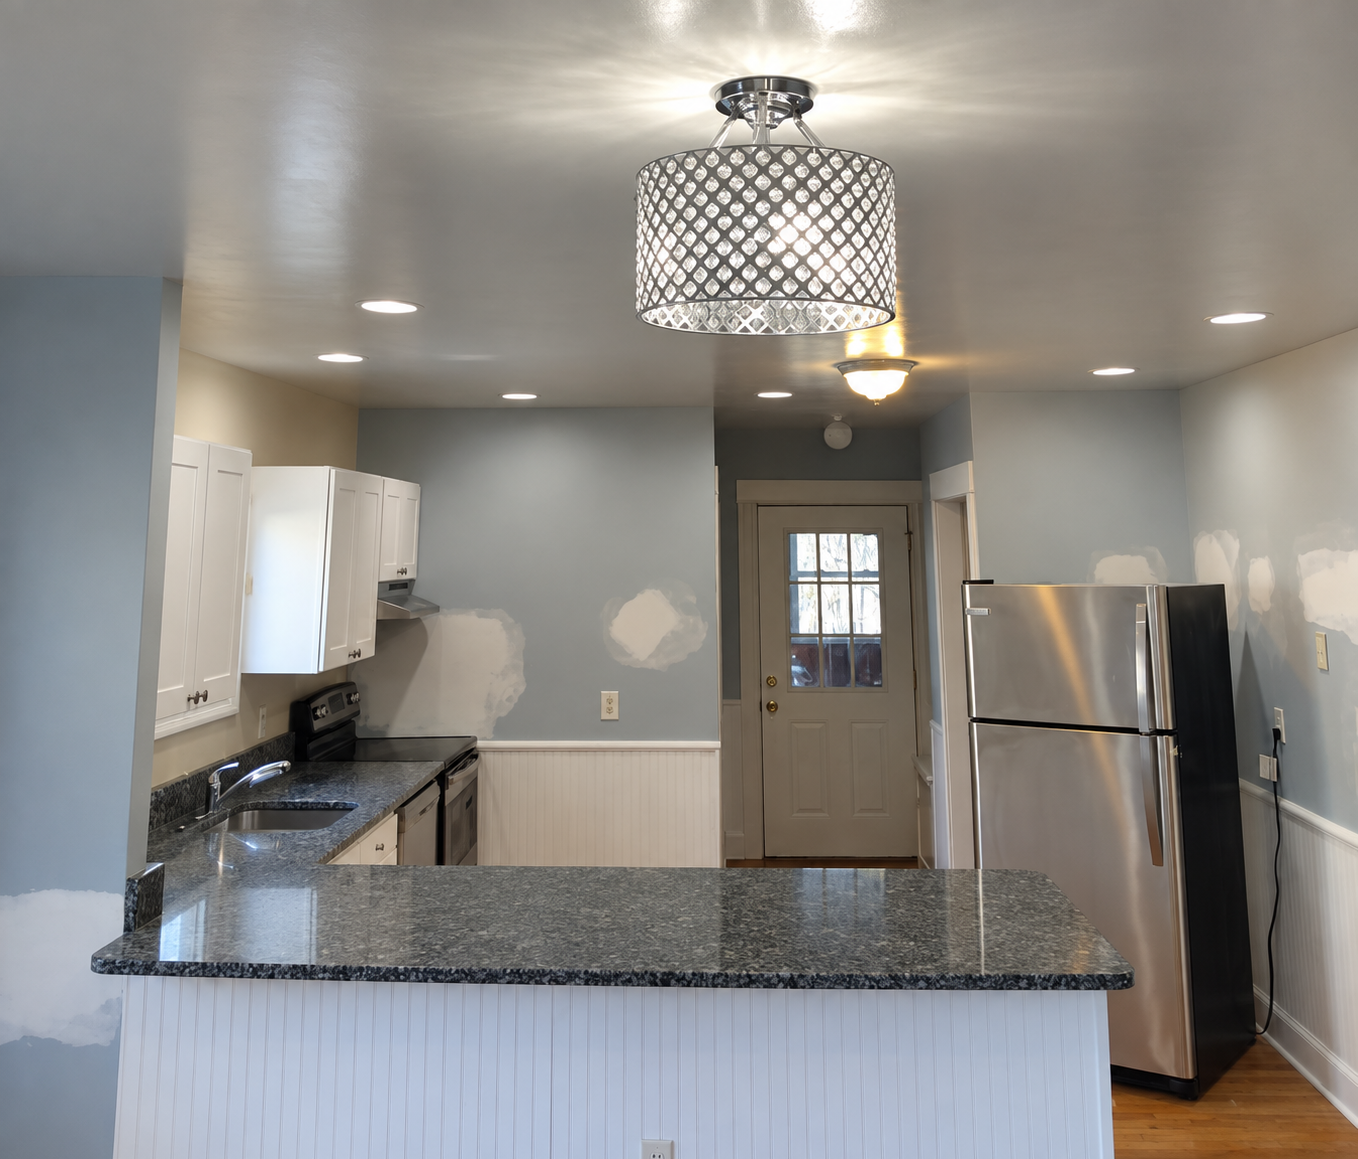
2. A Clear Estimate and Written Scope of Work
After evaluating the project, a professional contractor should provide an estimate explaining what is included. A clear scope of work helps prevent confusion once the project begins.
Depending on the job, the estimate may identify:
- The rooms or surfaces being painted
- The amount of preparation and minor repairs included
- Whether walls, ceilings, trim, doors, or cabinets are included
- The number of coats expected
- The paint products or level of finish being used
- Labor and material costs
- The anticipated schedule and payment terms
Read the proposal carefully and ask about anything that is unclear. If additional damage is discovered after work begins, the contractor should explain how it affects the scope, price, or timeline before completing work outside the original agreement.
3. Color and Finish Selection
Before painting begins, you will need to confirm your colors and finishes. Color can look different depending on natural light, artificial lighting, surrounding materials, and the time of day. Testing samples on the actual wall is often more useful than choosing from a small paper swatch alone.
The paint finish matters too. Flat or matte finishes can create a softer appearance, while eggshell and satin finishes are generally easier to clean. Semi-gloss is commonly considered for trim, doors, and other areas where added durability is helpful.
Your painter can explain the practical differences, but the final selection should also suit how the room is used and how you want it to feel.
4. Preparing Your Home Before the Crew Arrives
The contractor should explain what they need you to do before the start date. Requirements vary, but homeowners may be asked to:
- Remove small, fragile, or valuable items
- Take artwork and decorations off the walls
- Clear countertops, shelves, and window areas
- Move smaller furniture out of the room when possible
- Secure pets and plan for children to stay away from active work areas
- Confirm where the crew may park, enter, and store materials
Heavy furniture may be moved toward the center of the room and covered, depending on the agreement. For exterior projects, vehicles, patio furniture, grills, and decorations may need to be moved away from the work area.
A little preparation before the crew arrives can make the first day more efficient and help protect your belongings.
5. Protecting the Work Area
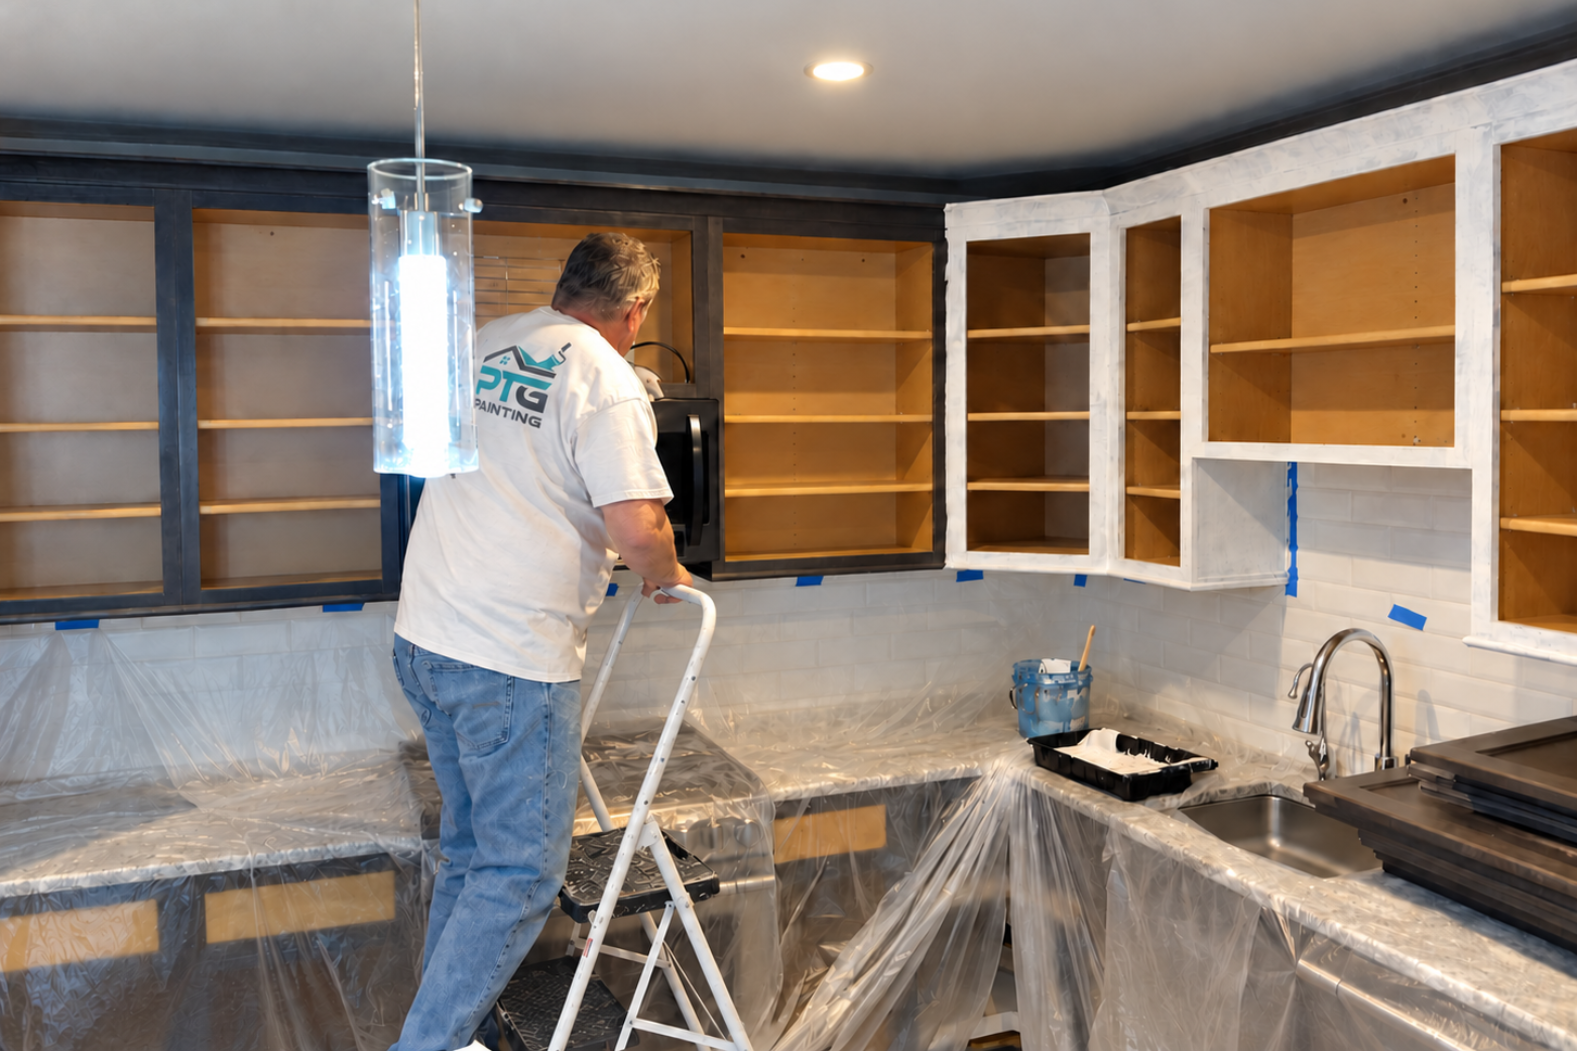
Before opening a paint can, the crew should protect the areas that are not being painted. For interior projects, this may include covering floors and furniture, masking fixtures and hardware, and isolating the work area when needed.
Exterior protection may involve covering nearby surfaces, moving or protecting outdoor items, and taking reasonable care around plants, walkways, roofing, windows, and other finished materials.
The exact setup depends on the property and scope, but protection should be part of the process—not an afterthought.
6. Surface Preparation and Repairs
Preparation is often one of the most time-consuming parts of a professional painting project. It is also one of the most important.
Depending on the surface condition, preparation may include:
- Cleaning dirt, dust, grease, or mildew
- Filling nail holes and small cracks
- Scraping loose or peeling paint
- Sanding rough areas
- Caulking appropriate gaps
- Repairing damaged drywall or wood when included in the scope
- Applying primer where needed
Not every wall or exterior surface requires the same work. Older homes, previously damaged areas, and heavily weathered exteriors may need more preparation than newer surfaces in good condition. Repairs beyond the agreed scope should be discussed before the crew proceeds.
If your home was built before 1978, ask whether the planned work requires lead-safe practices before painted surfaces are disturbed. Massachusetts provides a
lead-safe renovation guide for homeowners.
For more detail, read our guide on
why surface preparation matters before painting your home.
7. Painting and Application
Once preparation is complete, the crew begins applying the selected coatings. Depending on the surface and project, painters may use brushes, rollers, sprayers, or a combination of methods.
The team may work in sections so that preparation, painting, and drying can happen in an organized sequence. Some surfaces need primer, while others may not. The number of finish coats can also vary based on the product, existing color, new color, surface condition, and agreed scope.
During an interior project, access to certain rooms may be limited while paint is wet or equipment is in place. For exterior painting, the daily schedule may change because of rain, humidity, temperature, or surface moisture. A responsible contractor should keep you informed when conditions affect the work.
For a closer look at why conditions matter, see Benjamin Moore’s
exterior painting temperature guide.
8. Communication Throughout the Project
Good communication matters just as much as the painting itself. You should know who to contact with questions and receive updates about meaningful schedule changes, unexpected repairs, or decisions that need your approval.
It is helpful to raise questions as they come up rather than waiting until the final day. At the same time, avoid entering active work areas without checking with the crew, especially when ladders, wet paint, tools, or protective coverings are present.
Keeping communication clear helps the crew stay organized and gives you a chance to address concerns before the project is complete.
9. Cleanup and Final Walkthrough
At the end of the project, the crew should remove painting materials, coverings, tape, and job-related debris from the agreed work areas. Furniture or fixtures handled by the crew should be returned according to the project agreement.
The final walkthrough is your opportunity to review the completed work with the contractor. Look at the painted surfaces in good lighting and point out any areas that may need attention. Reasonable touch-ups identified during the walkthrough can then be discussed and completed based on the agreed scope.
The contractor may also provide guidance about drying and curing. Paint can feel dry before it has fully cured, so ask how long you should wait before washing the walls, replacing wall décor, closing painted windows, or placing furniture directly against the surface.
For more on the difference, see Sherwin-Williams’ guide to
paint drying and curing.
How Long Does a Professional Painting Project Take?
There is no single timeline that applies to every project. A straightforward room repaint may take much less time than a full-home interior, cabinet refinishing project, or multi-story exterior.
The schedule can be affected by:
- The size and complexity of the project
- The amount of preparation and repair required
- Drying time between products and coats
- The number of colors and detailed surfaces
- Access to the work areas
- Weather conditions for exterior projects
- Changes or added work requested after the project begins
Your contractor should provide an expected schedule based on the initial inspection. It is best to treat it as a professional estimate rather than a guarantee, especially when weather or hidden damage could affect the work.
Questions to Ask Before Work Begins
Before the start date, make sure you know:
- What preparation and repairs are included?
- Who is responsible for moving furniture and removing wall décor?
- Which paint products, colors, and finishes will be used?
- Which areas of the home will be accessible during the project?
- Who should you contact with questions?
- How will unexpected repairs or changes be handled?
- What does the final walkthrough and touch-up process include?
These questions help establish clear expectations for both the homeowner and the contractor.
Planning a Painting Project in South Shore, MA?
A professional painting project should feel organized from beginning to end. A clear scope, proper protection, thorough preparation, skilled application, and consistent communication all contribute to a smoother experience and a finished result you can enjoy.
PTG Painting LLC provides
interior
and
exterior painting services for homeowners, property managers, and businesses throughout South Shore, Massachusetts. If you are planning a painting project, contact our team to discuss your space and
request an estimate.