Why Surface Preparation Matters Before Painting Your Home
The finish gets the attention, but careful preparation is what helps it look smooth and last.
A fresh coat of paint can completely change the look of a home, but the quality of the finished project depends on more than the paint itself. Long before the first finish coat goes on, surfaces need to be inspected, cleaned, repaired, and prepared correctly.
Skipping these steps may save time at the beginning, but it can lead to visible flaws, uneven coverage, peeling, and additional repairs later. Proper surface preparation gives paint a clean, stable base to bond to and helps create the smooth, durable finish homeowners expect.
What Does Surface Preparation Before Painting Include?
The exact preparation process depends on the condition of the home and whether the project is indoors or outdoors. In general, professional paint preparation may include:
- Inspecting walls, ceilings, trim, siding, and other surfaces
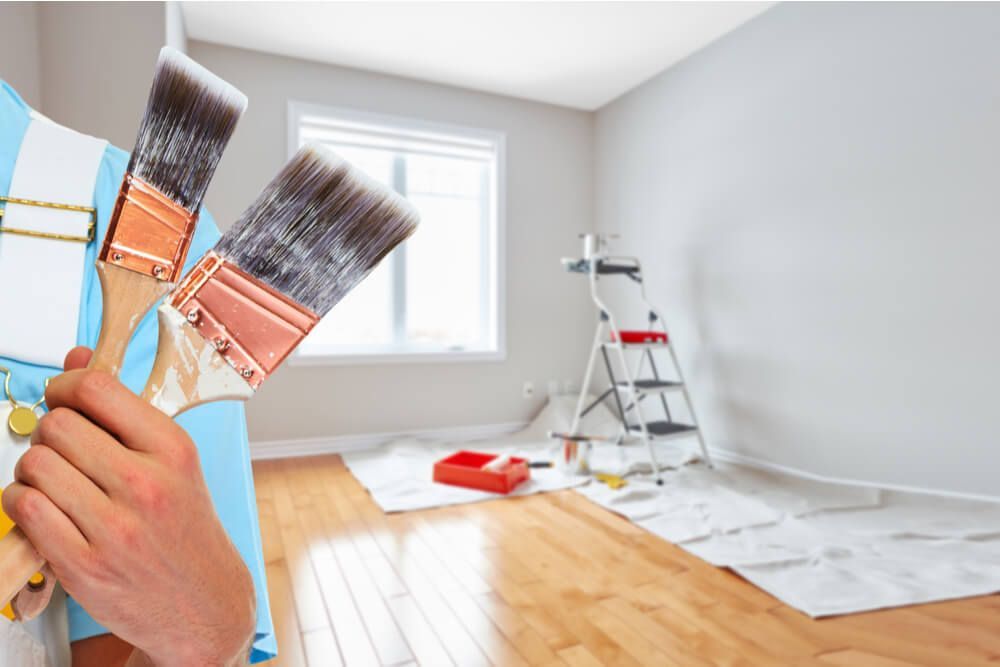
- Protecting floors, furniture, fixtures, landscaping, and nearby areas
- Cleaning away dirt, dust, grease, mildew, or loose material
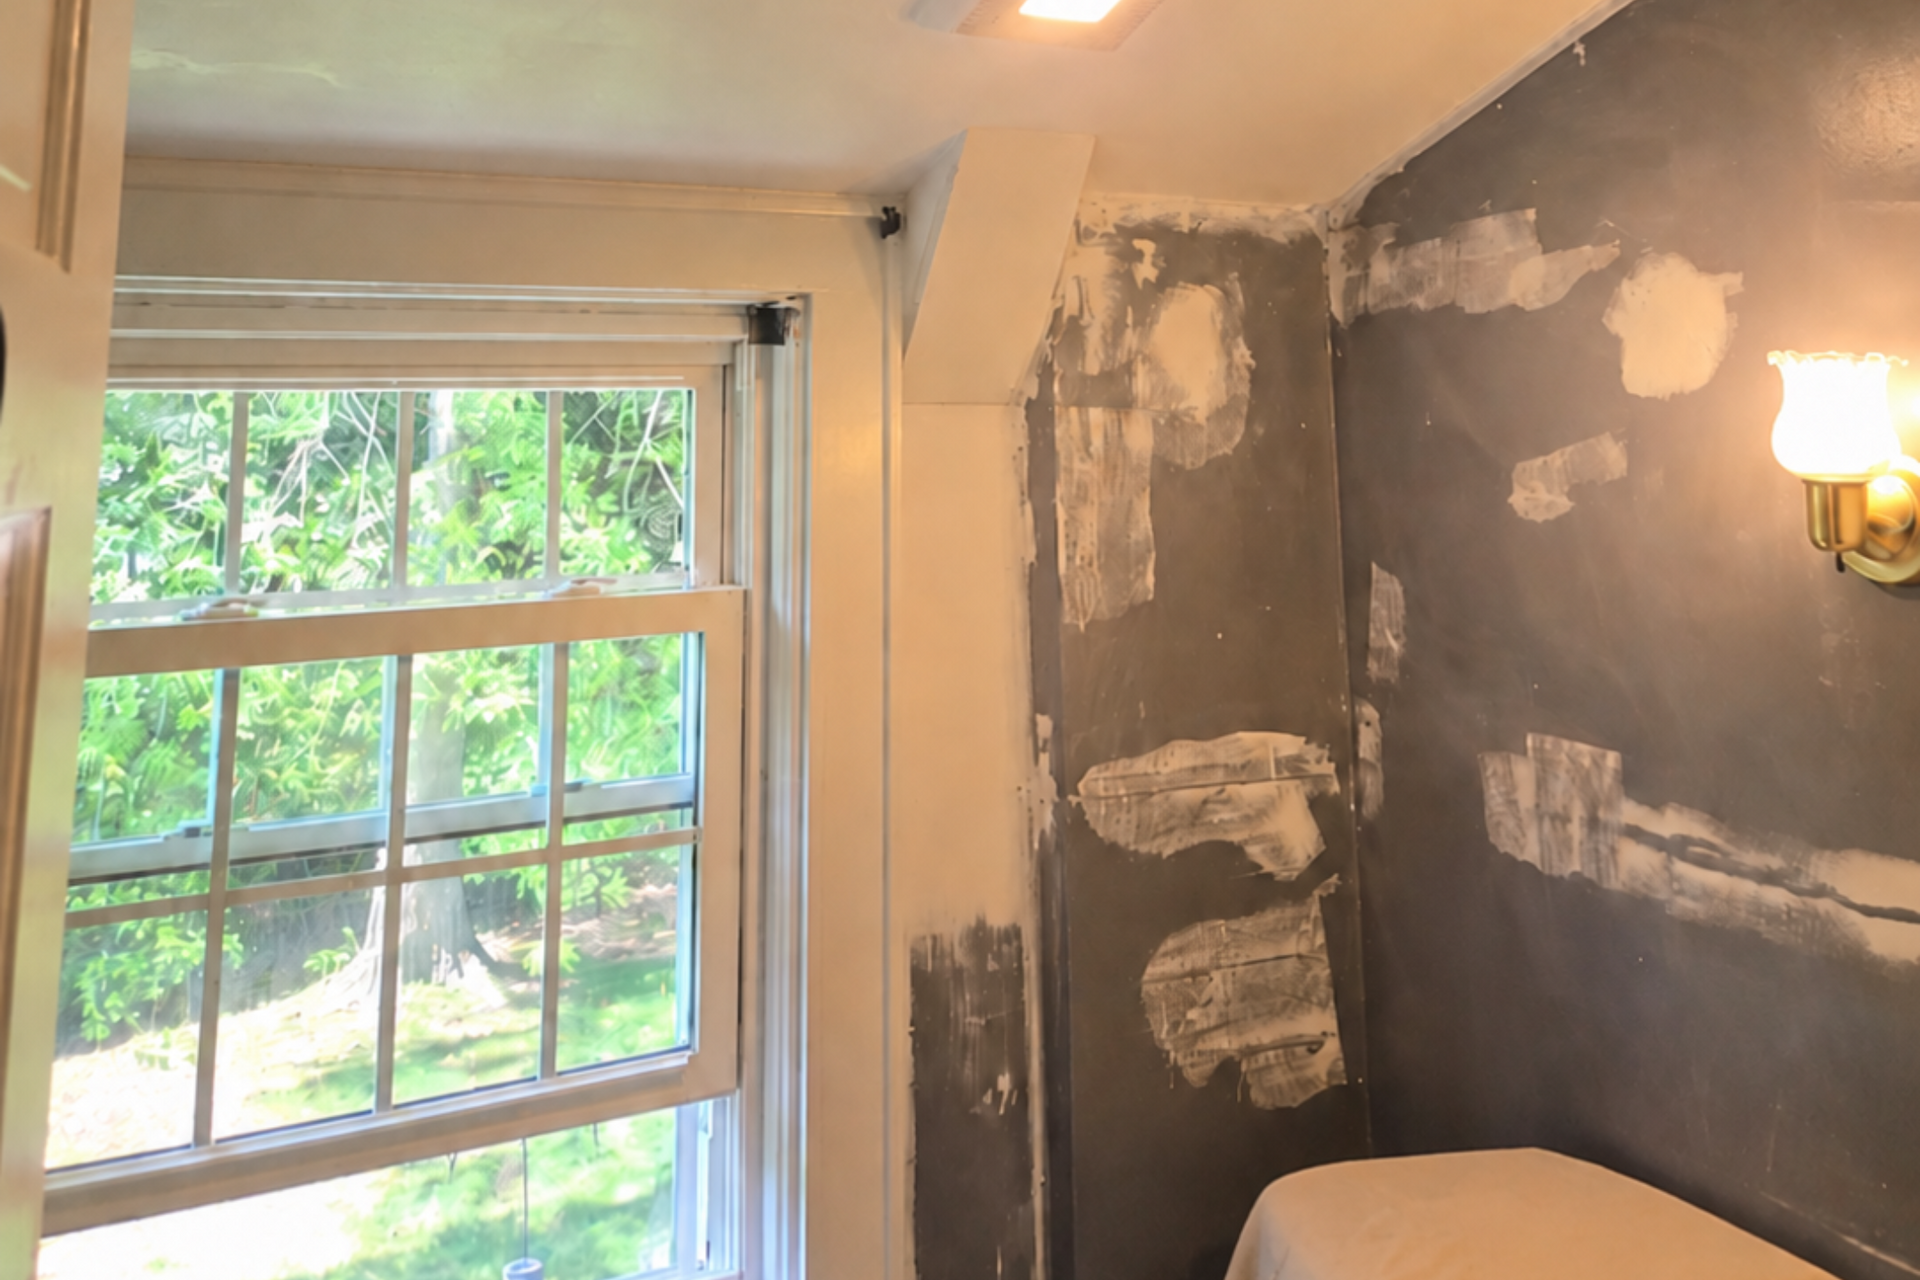
- Filling nail holes, dents, cracks, and small surface imperfections
- Repairing damaged drywall or deteriorated areas when included in the scope
- Sanding rough patches and glossy surfaces as needed
- Scraping loose, flaking, or peeling paint
- Caulking appropriate gaps around trim and joints
- Spot-priming repairs, stains, bare surfaces, or problem areas
- Applying a full primer coat when the surface or color change calls for it
Not every room or exterior needs every step. A newer wall in good condition may need relatively light preparation, while an older home with cracked drywall, peeling paint, water stains, or weathered trim may require much more work. A clear estimate should identify the visible conditions and explain which preparation steps are included.
Preparation Helps Paint Adhere Properly
Paint performs best when it is applied to a surface that is clean, dry, stable, and suitable for coating. Dust, grease, loose paint, chalky residue, and glossy finishes can interfere with adhesion. If those conditions are ignored, the new coating may not bond evenly or securely.
Cleaning, sanding, scraping, and priming are used only where the surface requires them. These steps help create a dependable base for the finish coats and reduce the likelihood of premature peeling or flaking.
This is especially important in hardworking areas such as kitchens, bathrooms, hallways, doors, and trim. These surfaces are regularly exposed to moisture, oils, scuffs, and cleaning, so they need more than a quick coat of paint.
Repairs Are Still Visible Under New Paint
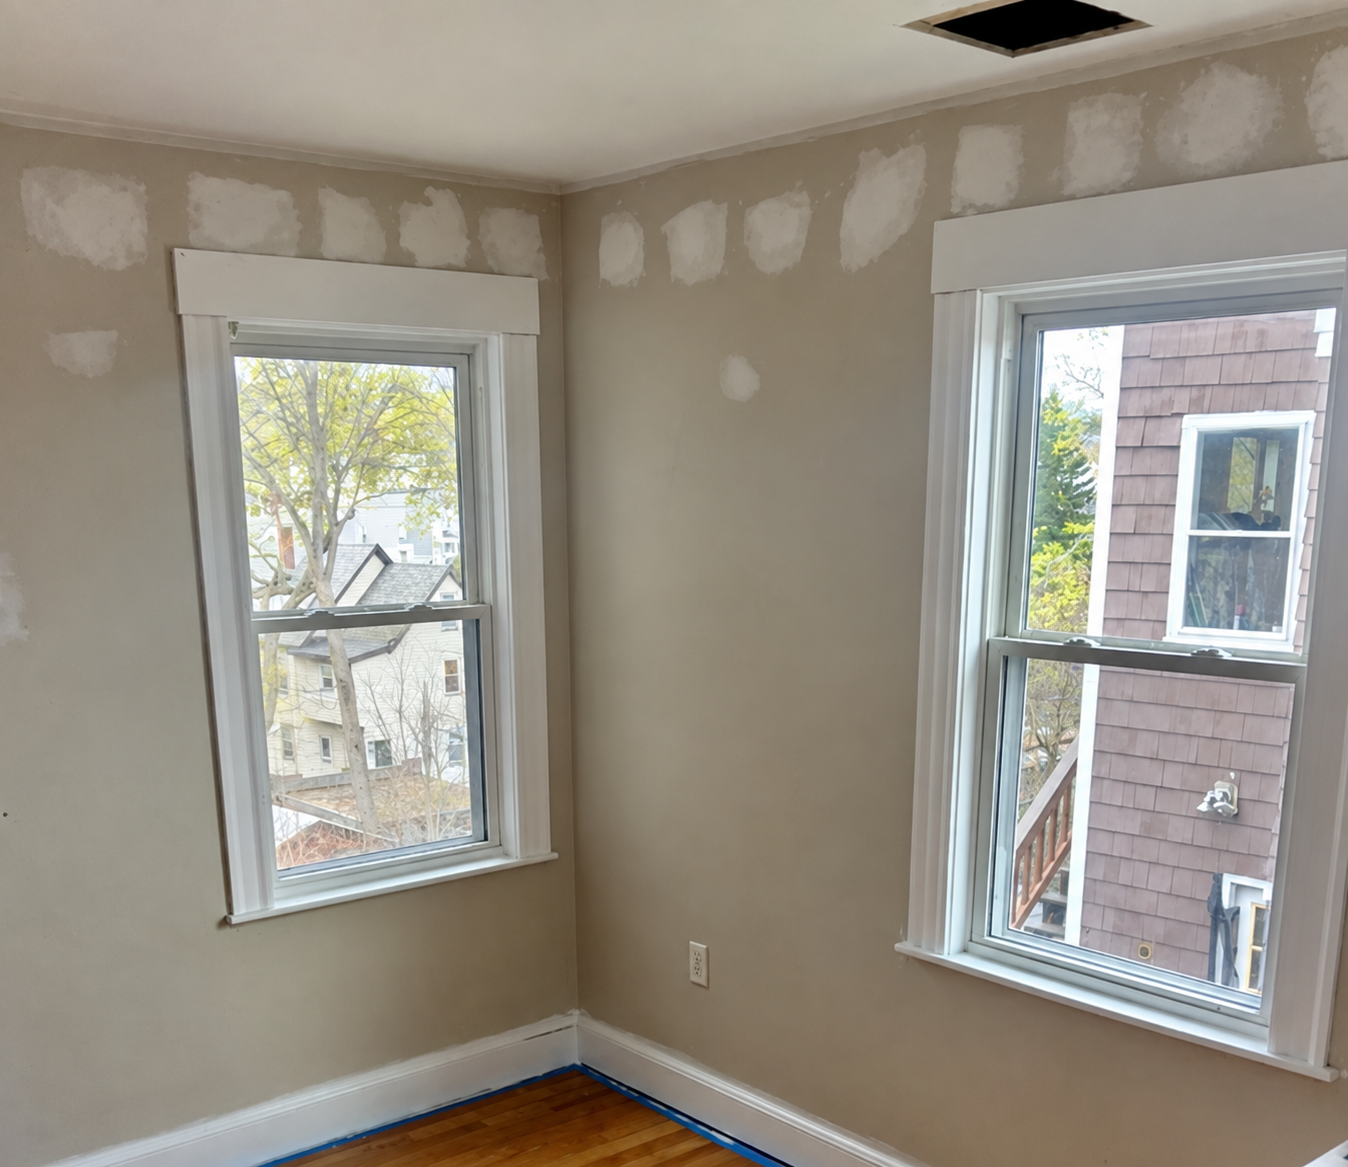
Paint changes color and sheen, but it does not conceal every imperfection. Nail holes, dents, cracks, rough patches, peeling edges, and uneven repairs can remain noticeable after painting—and some may become more obvious under certain lighting or with a higher-sheen finish.
That is why repairs should be completed and smoothed before the finish coats are applied. When patched areas are sanded and primed correctly, they are less likely to show through as dull spots, raised edges, or changes in texture.
Preparation cannot make every older surface perfectly new, and extensive damage may require a separate drywall, carpentry, or restoration scope. A professional painter should explain the realistic finish level based on the condition of the surface and the work included in the proposal.
Priming Creates the Right Foundation
Primer and paint serve different purposes. Primer may be needed to seal porous repairs, improve adhesion, block certain stains, create a more uniform surface, or support a major color change. It is particularly useful on new drywall, bare wood, patched areas, and other surfaces that absorb coating unevenly.
However, every previously painted wall does not automatically need a full coat of primer. The correct approach depends on the surface condition, existing coating, repairs, stains, and selected paint system. In some homes, spot-priming repaired or bare areas is sufficient. In others, full priming is the better choice.
A careful contractor evaluates these conditions instead of using the same preparation plan for every project.
Good Preparation Produces a Cleaner Finish
Homeowners often notice the final details first: smooth walls, even color, straight lines, clean trim, and consistent coverage. Those details begin during preparation.
For example, sanding helps soften rough transitions, caulking appropriate gaps can create cleaner-looking trim lines, and priming repairs helps prevent uneven flashing. Protecting floors, fixtures, and furniture also keeps the work area controlled and reduces the risk of drips or overspray reaching surfaces that are not being painted.
The result is not simply a different wall color. It is a room or exterior that looks deliberately finished
Interior and Exterior Preparation Are Different
Interior painting preparation
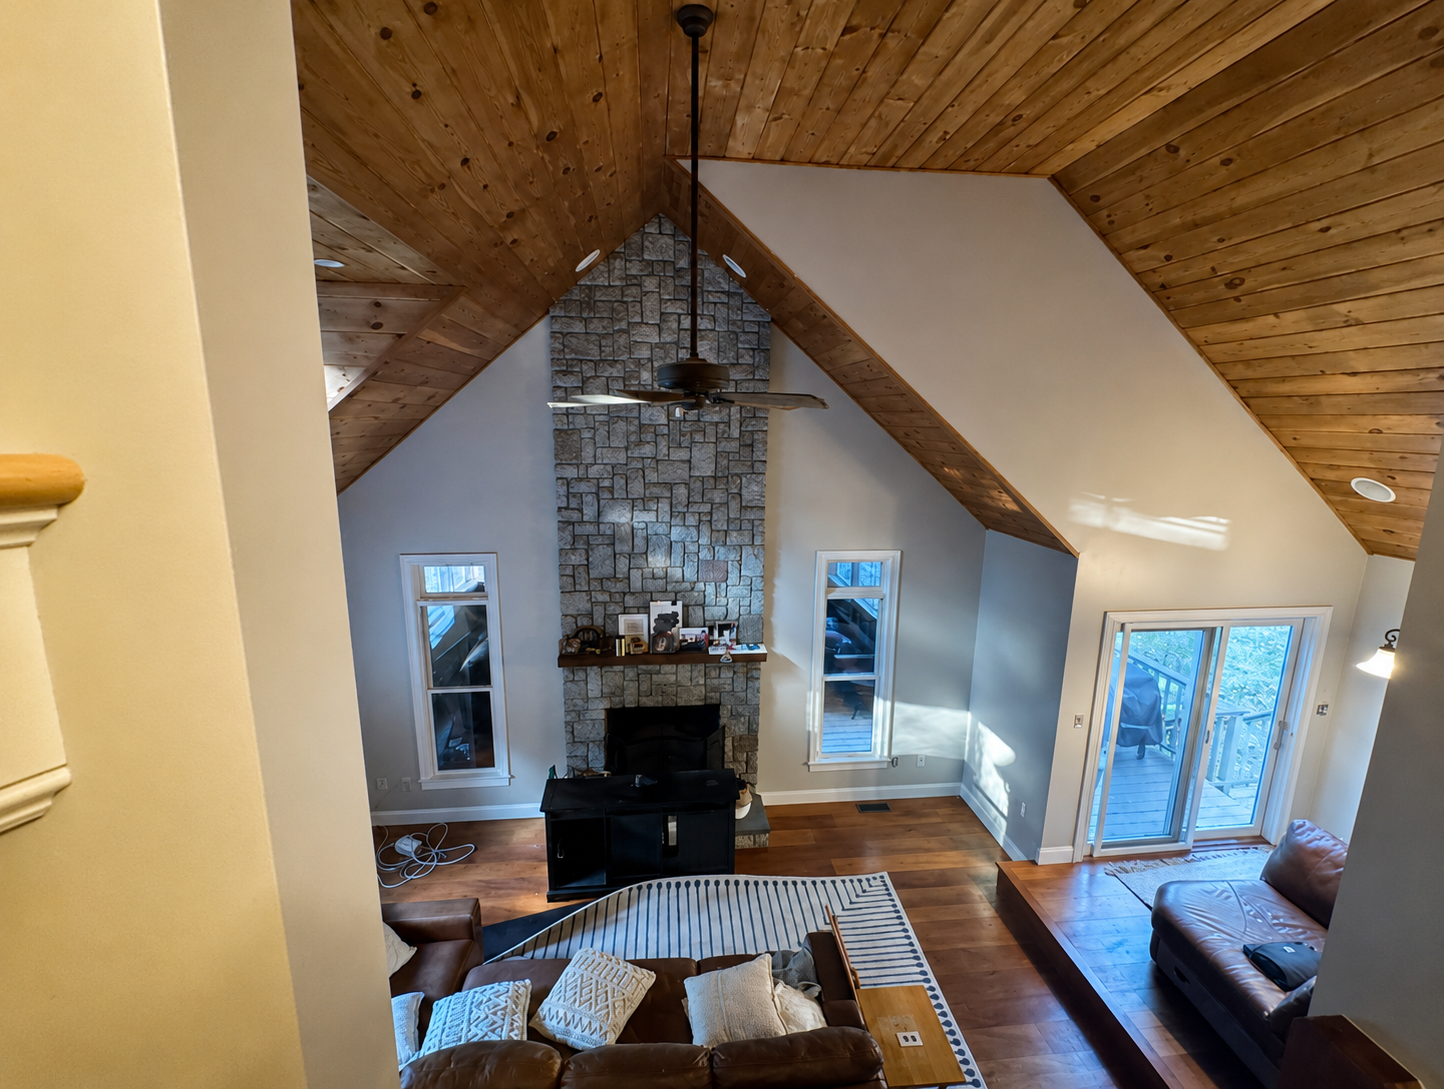
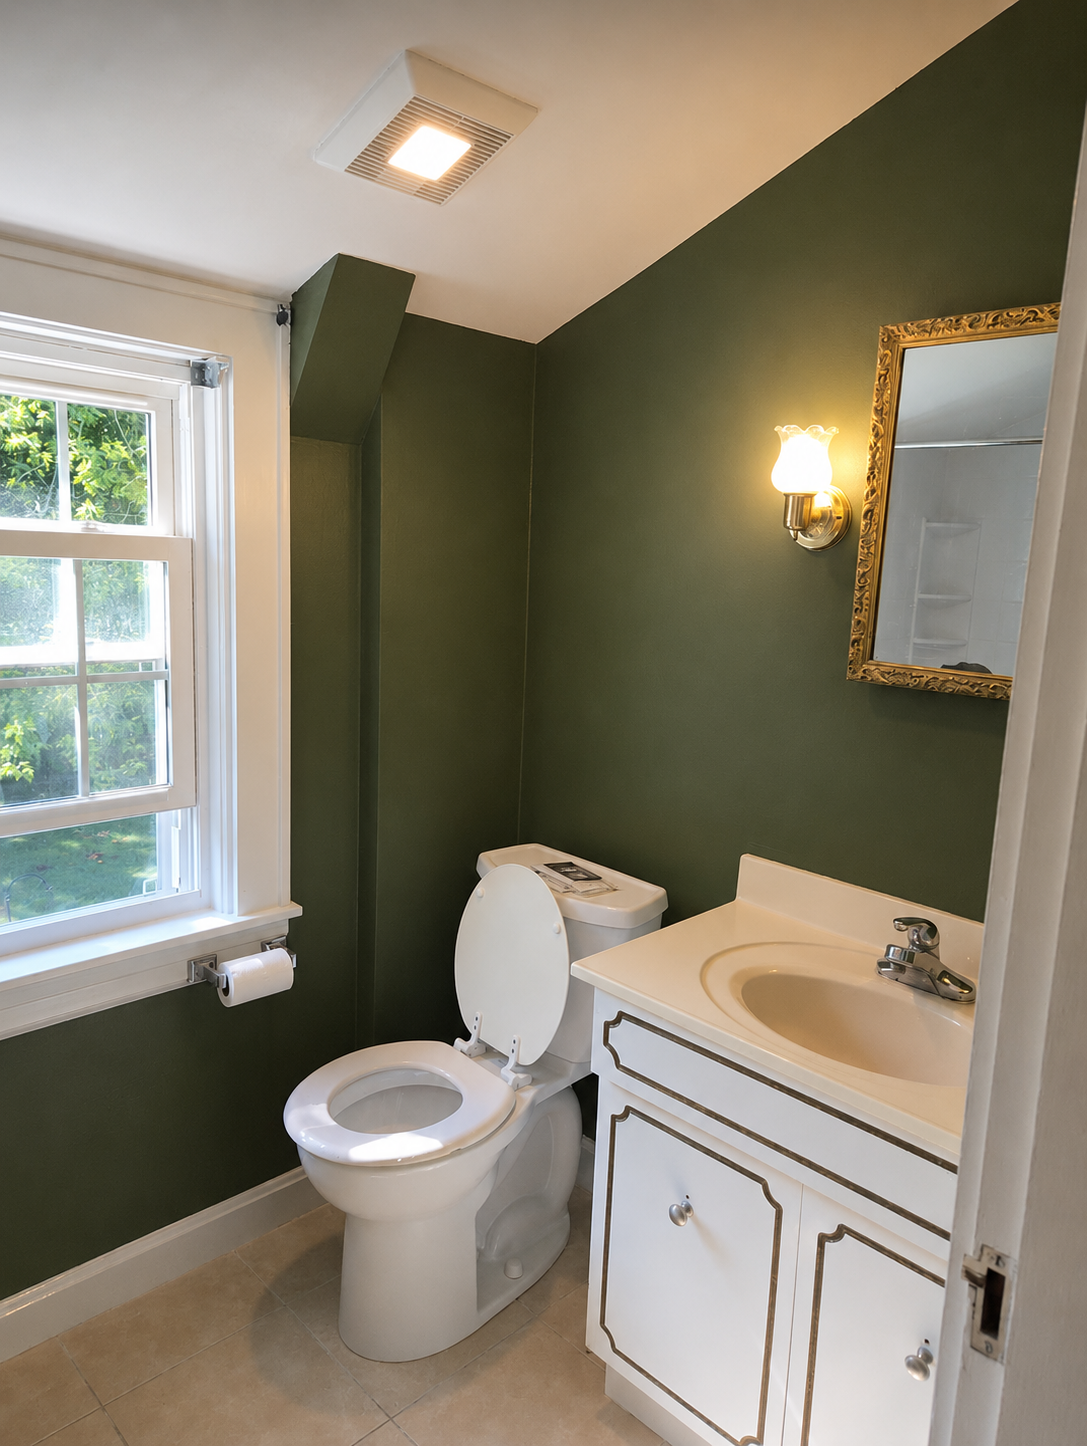
Interior preparation often focuses on protecting the home and correcting surface imperfections. Depending on the project, this may involve moving or covering furniture, protecting floors, removing wall plates, cleaning walls, repairing drywall, sanding, caulking trim, and priming selected areas.
Bathrooms and kitchens may need special attention because moisture, soap residue, grease, or previous stains can affect the surface. High walls, stairways, ceilings, doors, and detailed trim may also require additional labor and access equipment.
Exterior painting preparation
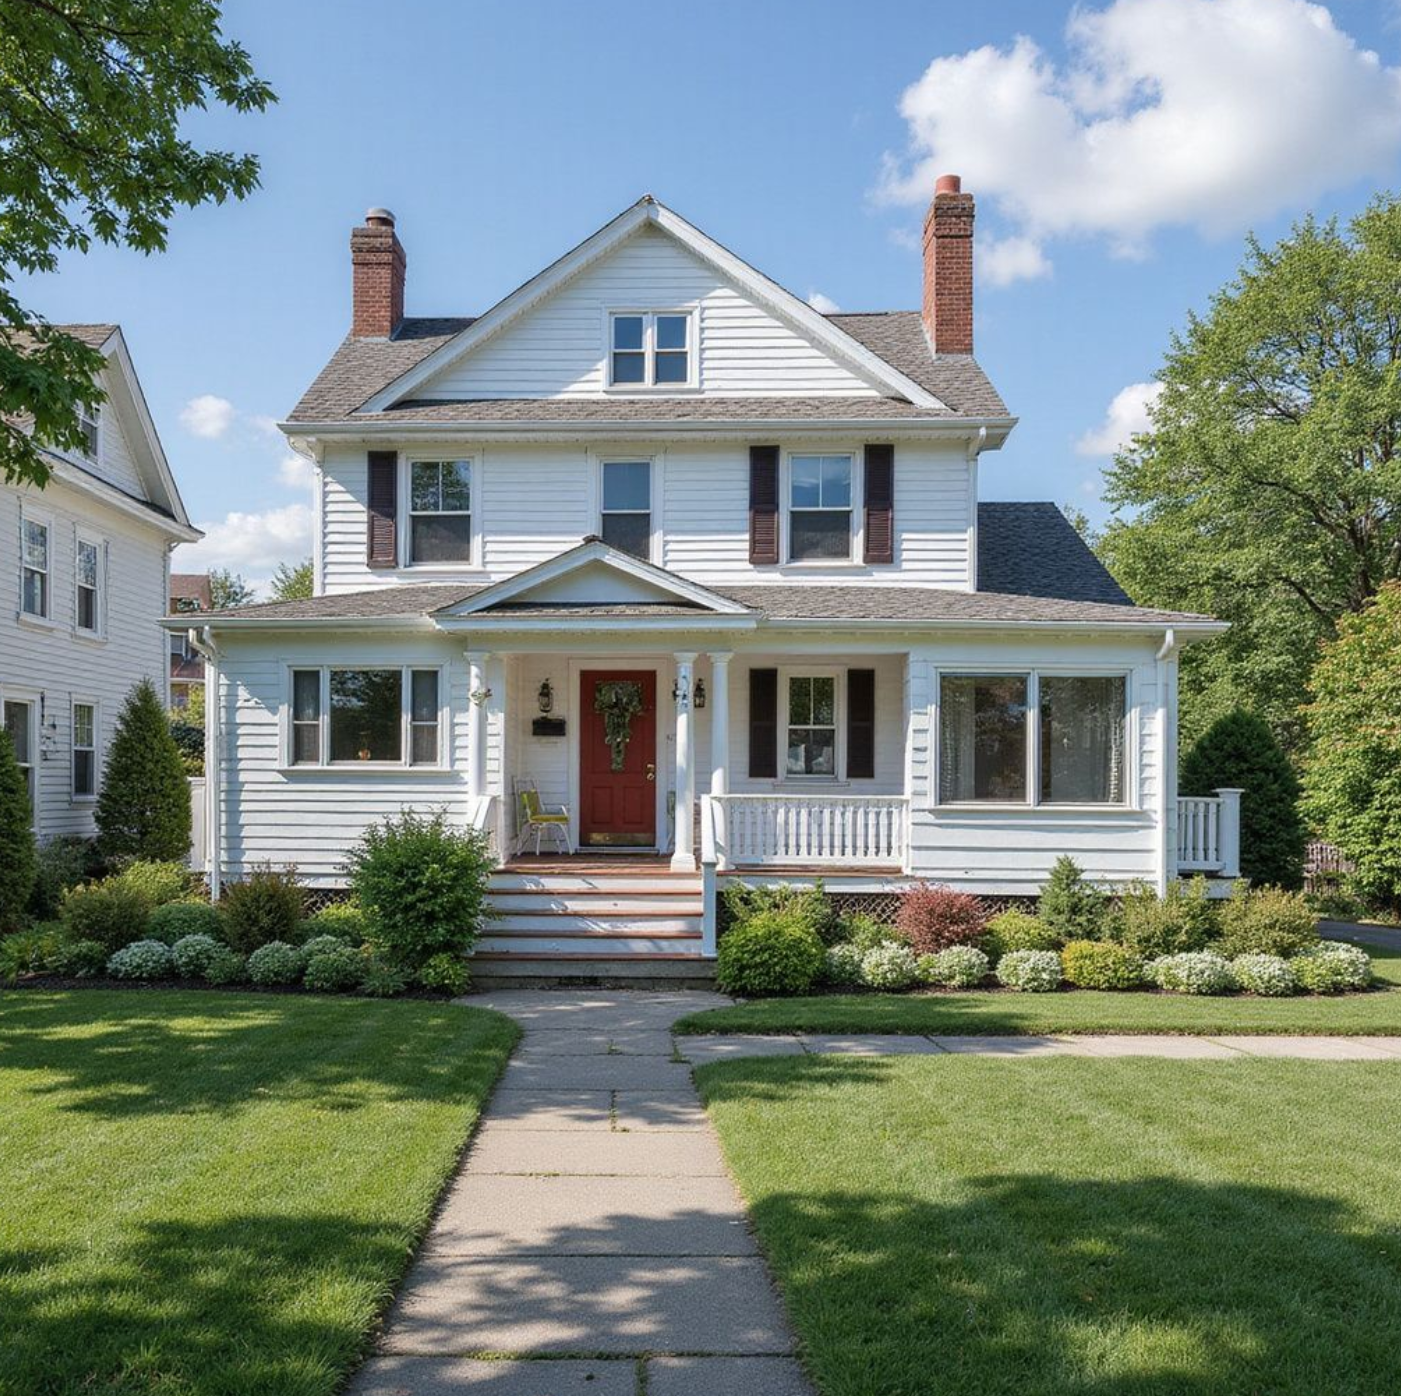
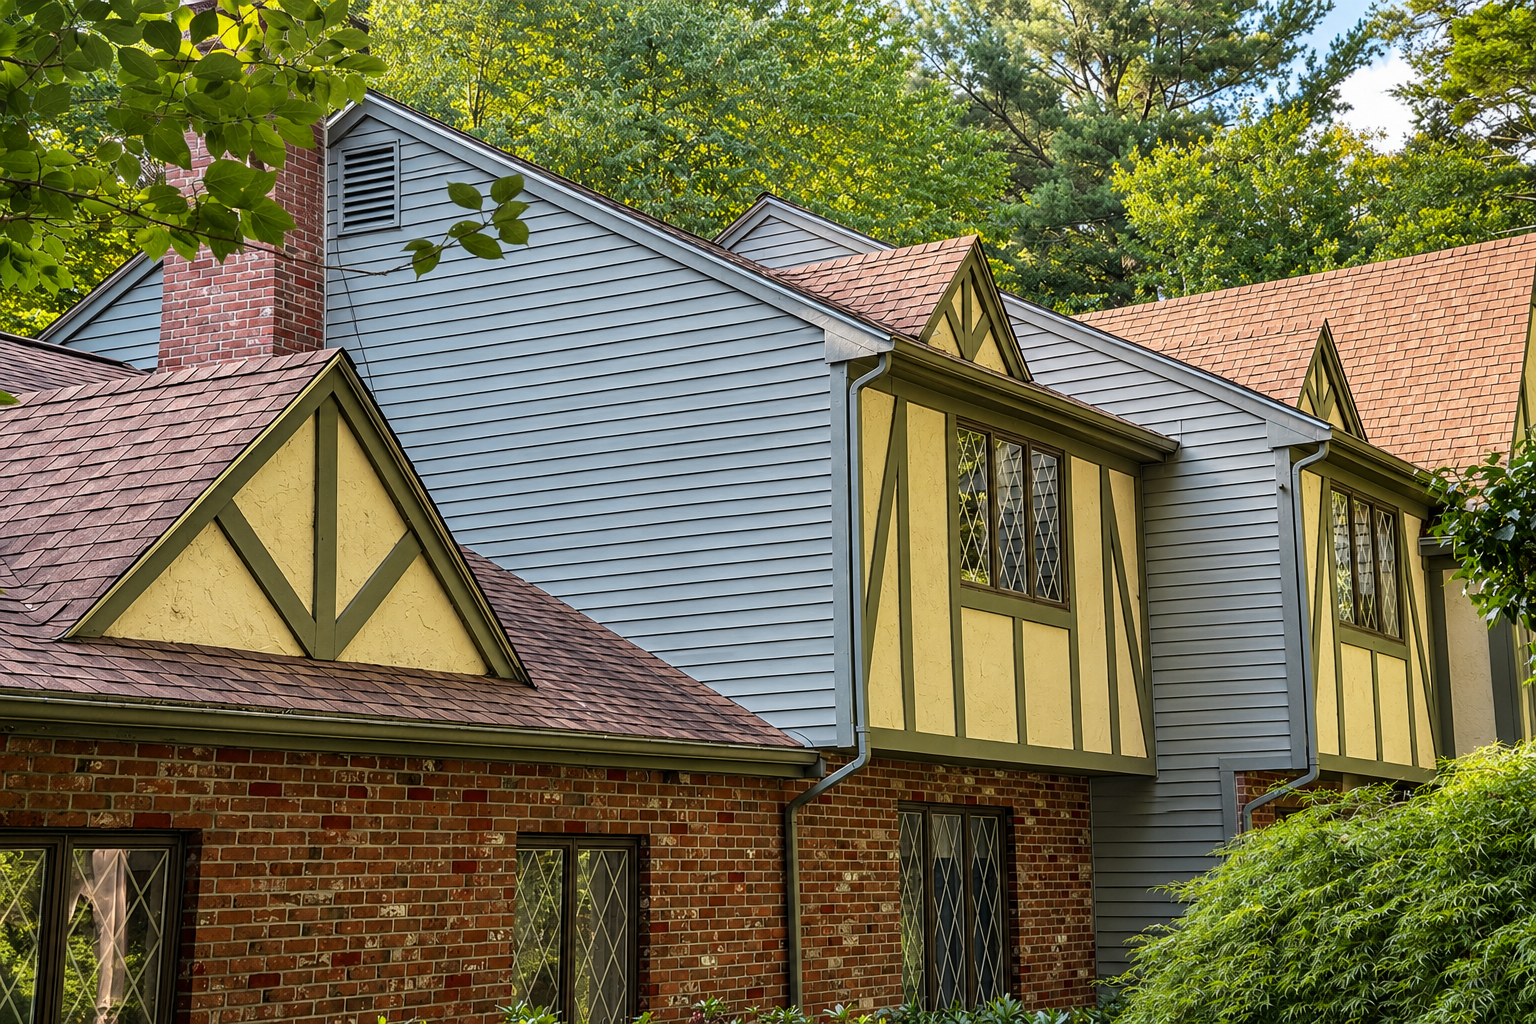
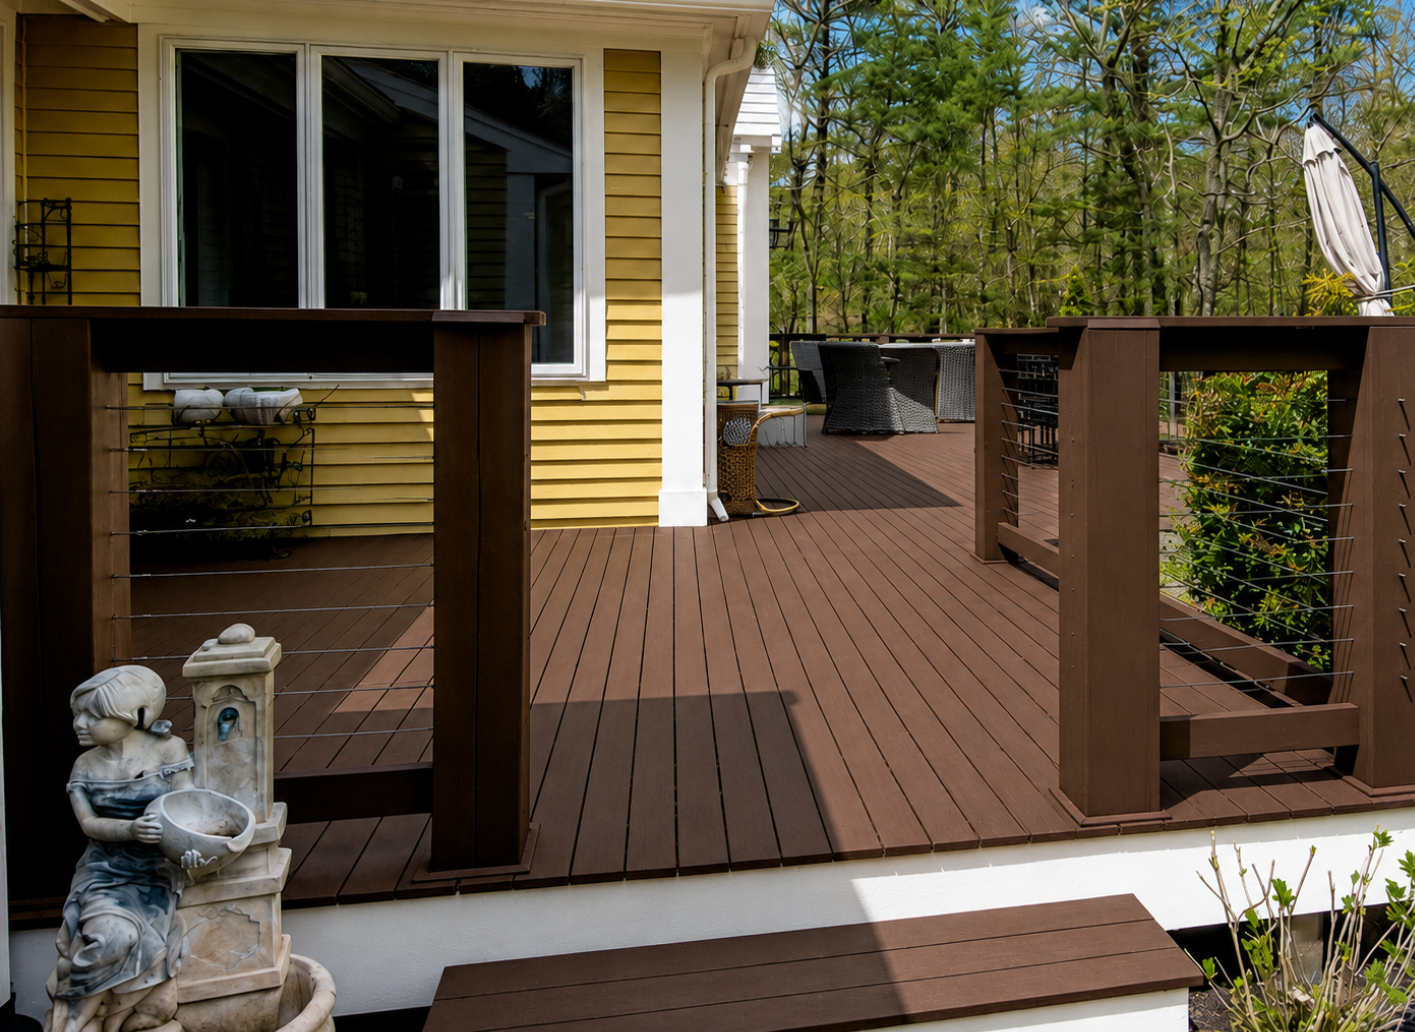
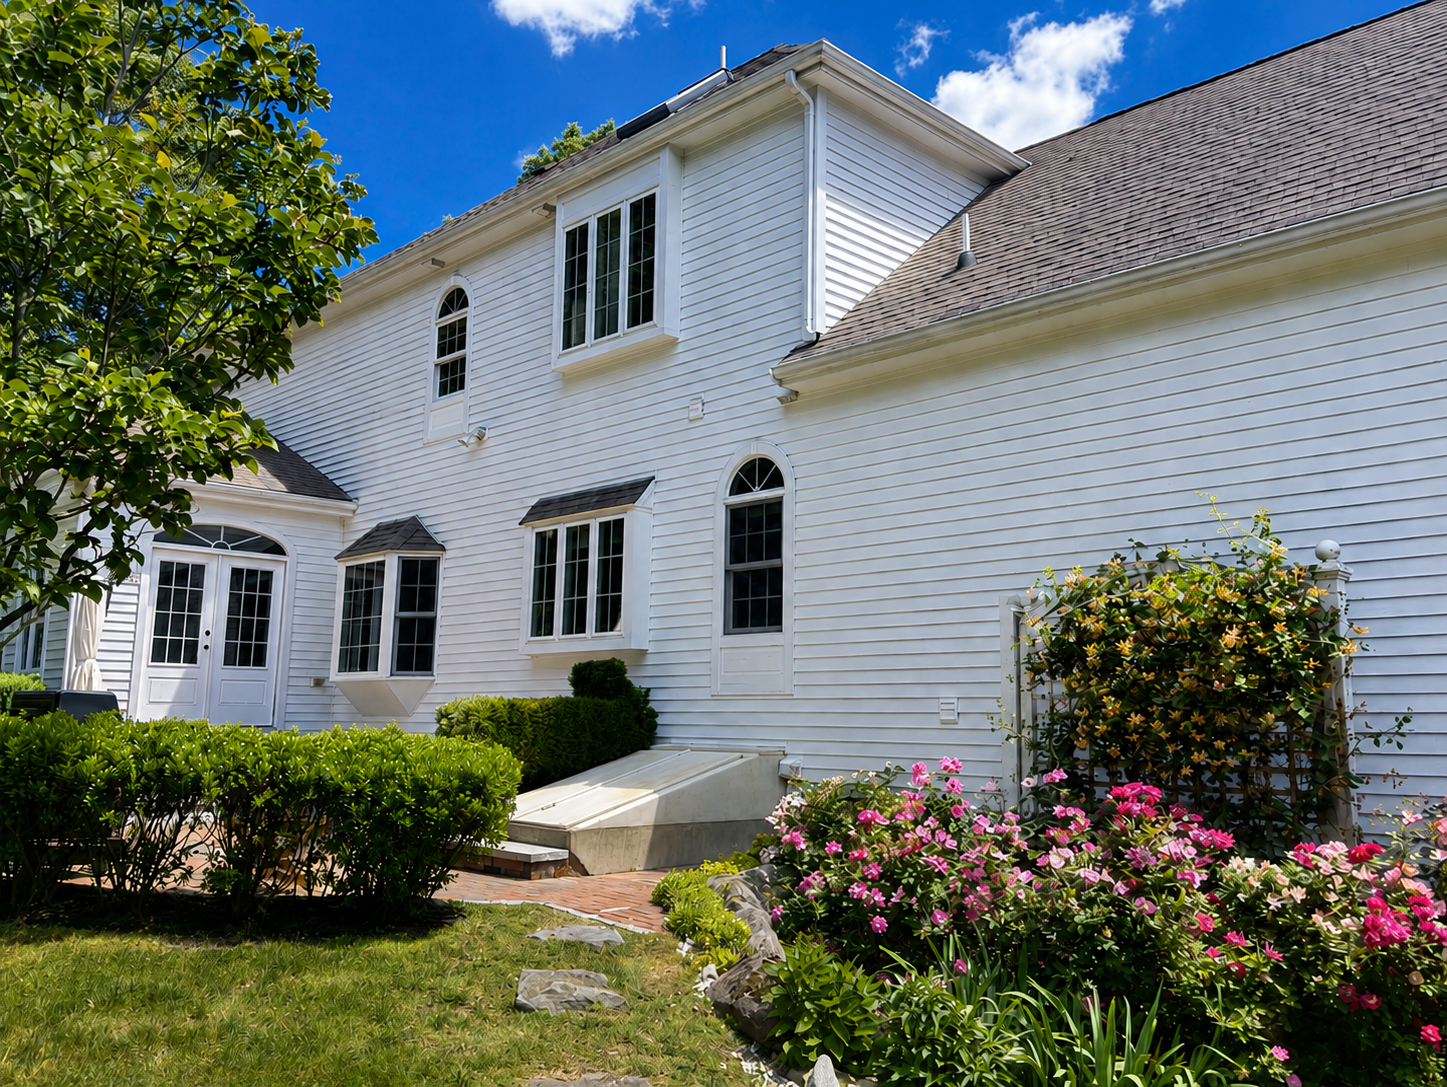
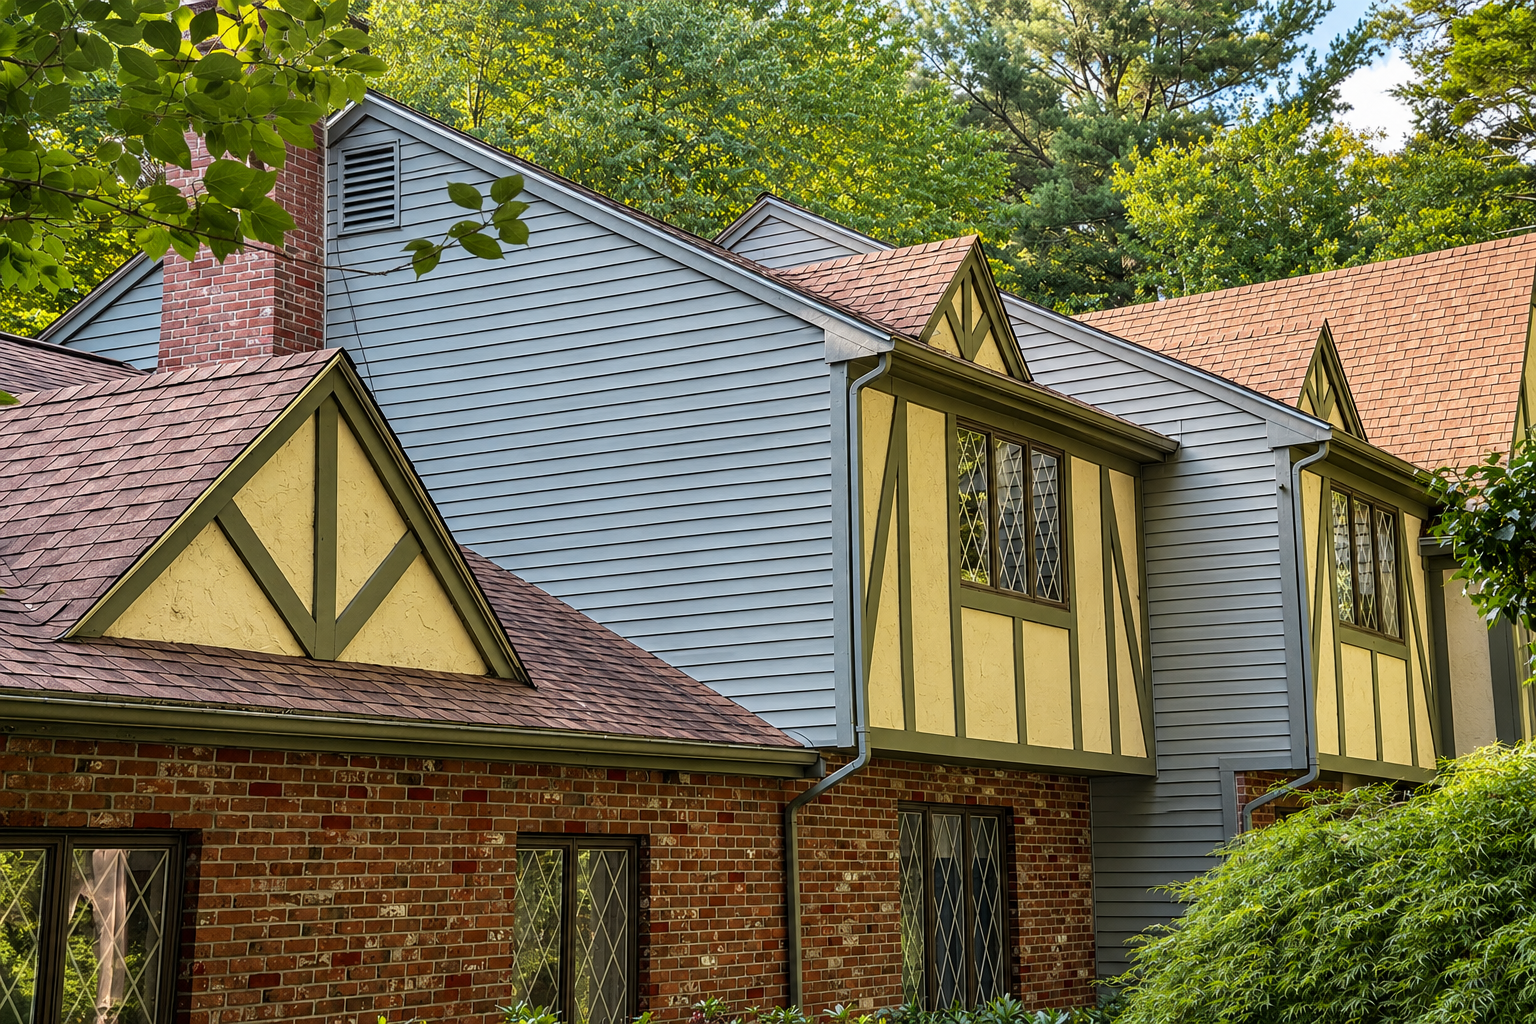
Exterior surfaces face sunlight, rain, moisture, temperature changes, and seasonal weather. Preparation may include washing, scraping loose paint, sanding rough edges, replacing failed caulk where appropriate, spot-priming bare areas, and identifying deteriorated wood or siding that may need repair.
Massachusetts weather makes exterior preparation especially important. Applying a new coating over a damp, dirty, unstable, or peeling surface will not correct the condition underneath it. The substrate must be suitable for painting, and work must be scheduled around appropriate weather conditions.
Older Massachusetts Homes May Need Additional Care
Homes built before 1978 may contain lead-based paint. Renovation, repair, or painting work that disturbs older painted surfaces may require specific lead-safe practices. The
EPA Renovation, Repair and Painting Program explains the federal requirements for contractors performing covered work in pre-1978 homes and child-occupied facilities. Massachusetts also administers its own authorized lead-safe renovation program.
Homeowners should tell their contractor the age of the property and ask how older coatings or deteriorated surfaces will be handled. Before sanding, scraping, or otherwise disturbing suspected lead-based paint, it is important to understand the applicable safety requirements.
Massachusetts homeowners can find additional guidance through the state’s
lead-safe renovation information for homeowners.
Questions to Ask Before Hiring a Painter
When comparing painting estimates, do not look only at the final price. Two proposals can appear to cover the same rooms while including very different levels of preparation.
Ask each contractor:
- What surface preparation is included in the estimate?
- Which cracks, holes, or damaged areas will be repaired?
- Will repaired and bare areas be primed?
- Does the project require spot-primer or a full primer coat?
- How will floors, furniture, fixtures, and landscaping be protected?
- Are drywall or carpentry repairs included or priced separately?
- How will unexpected damage be communicated and approved?
- What level of finished appearance should I realistically expect from the existing surfaces?
Clear answers help prevent misunderstandings and make estimates easier to compare fairly.
Is Professional Preparation Worth It?
For homeowners who want a cleaner finish and longer-lasting results, proper preparation is worth the time. It addresses the conditions that paint alone cannot solve and reduces the chance that avoidable defects will appear after the project is complete.
Preparation can represent a meaningful part of the labor on a painting project, particularly in an older or heavily used home. That is not wasted time. It is the work that creates the foundation for everything homeowners see afterward.
One PTG Painting customer described the finished result this way:
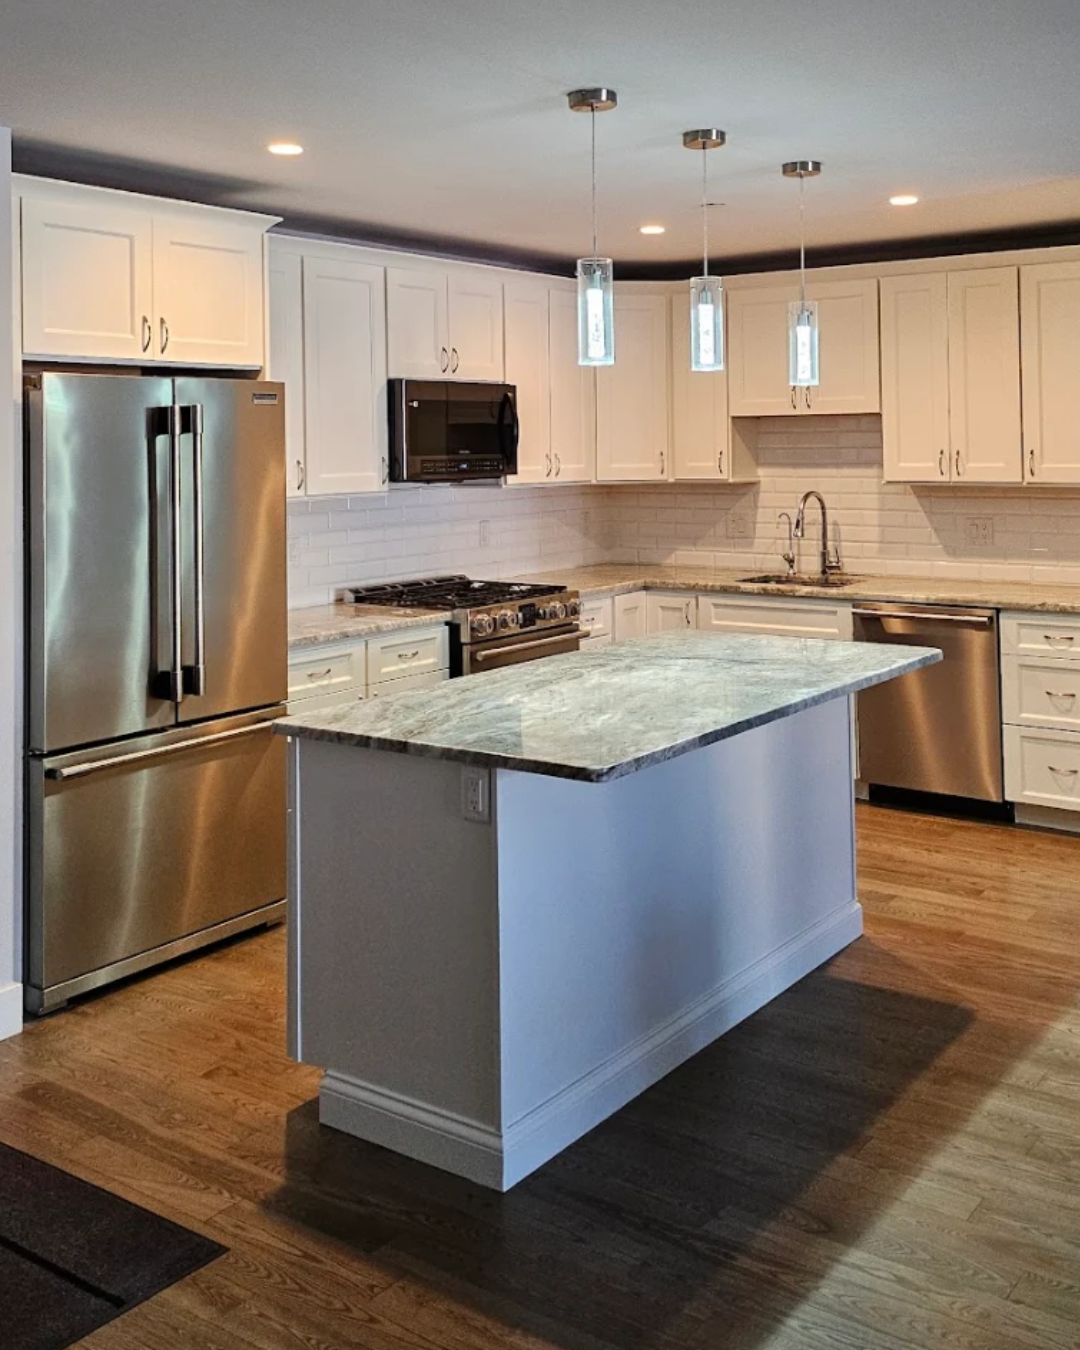
“PTG Painting transformed my kitchen to a nice modern look. The guys worked very hard and painted with every bit of detail to give my kitchen a complete transformation! Highly recommend them for any paint job you want to get done around your house.”
Plan Your Painting Project with PTG Painting
If your walls, ceilings, trim, cabinets, or exterior need attention, PTG Painting can evaluate the surfaces, explain the preparation needed, and provide a clear project scope. We serve homeowners and property managers throughout the South Shore of Massachusetts, including Bridgewater, Brockton, Braintree, Hingham, Quincy, and nearby communities.
Contact PTG Painting to
schedule an estimate
and learn what it will take to achieve a clean, durable finish in your home.